A measurable level adjustment
The output displays calculated RMS and sample peak. You can check what happened to the recording instead of relying on an unexplained “louder” button.
Adjust the overall level of a short recording using an RMS target and peak protection. Compare the result, then download WAV from your browser.
Choose your file in the audio workspace, adjust the controls and download the result. Processing stays in your browser; no upload is required.
Files stay on your device. Download the result before leaving; refreshing clears the local edit.

Open a supported mono or stereo file, up to 25 MB and 120 seconds. The browser decodes its samples locally. A silent recording cannot be normalized because there is no existing signal to amplify.
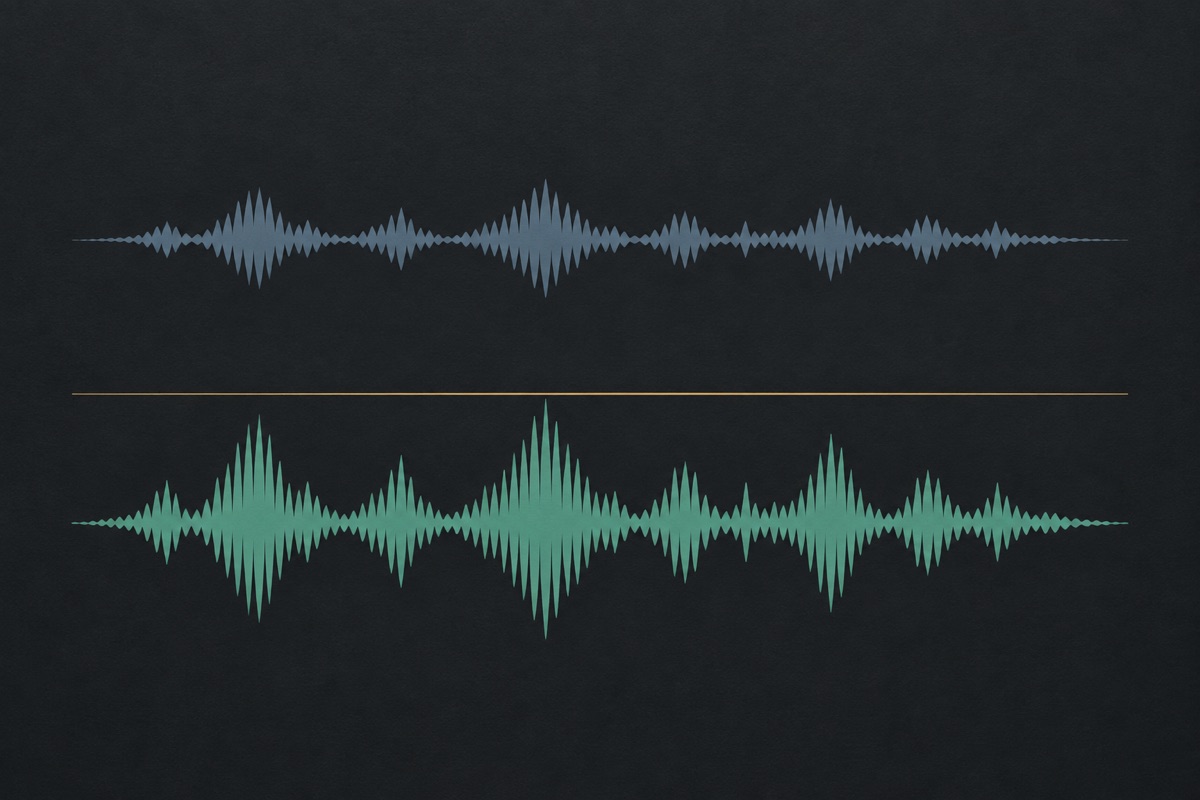
Choose an RMS target between -30 and -6 dBFS. The processor calculates one gain for the entire recording and caps it so the largest sample stays at or below -1 dBFS. This protects peaks without compressing the dynamics.

Process the file and listen at a comfortable playback volume. Read the output RMS and peak measurements; a dynamic source may not reach the requested RMS because of peak protection. Download the WAV when the result is useful.
The output displays calculated RMS and sample peak. You can check what happened to the recording instead of relying on an unexplained “louder” button.
The processor limits the applied gain so the sample peak stays below its ceiling. It does not flatten loud passages to force every file to reach the same average target.
One gain value is applied across the recording. Relative differences between quiet and loud passages remain, apart from normal output quantization.
The file stays in the browser and exports as WAV. This is RMS-based normalization, not certified broadcast LUFS mastering or automatic restoration of a damaged recording.
RMS describes the average energy of the decoded samples over the recording. Sample peak describes the largest individual sample. They answer different questions: a short loud transient can set a high peak while the rest of the file remains quiet. This audio normalizer uses the RMS target to propose a gain, then reduces that gain if the largest sample would exceed -1 dBFS.
Because both conditions are considered, some files will finish below the requested RMS level. That is an intentional result, not a hidden failure. Reaching the target in those cases would require changing dynamics with compression or limiting, which this tool does not do. Compare the reported output measurements and listen instead of assuming every selected target must be reached exactly.
A level adjustment is easiest to evaluate when you decide what mismatch you are trying to fix. For example, one spoken cue may be much quieter than another file that will play next to it. Compare the source and result at the same playback setting, and check whether the words remain comfortable to hear. Do not keep increasing the target just because a louder preview seems more impressive. Peak protection can limit the available gain, and a recording with strong transient peaks may need a different kind of processing outside this tool to change its dynamics.

If a voice recording is consistently too quiet, a single gain change may make it easier to use with other material. If one sentence is quiet and the next is shouted, a global gain cannot balance them independently. The louder passage still constrains the peak ceiling. Edit or compress uneven performances in a suitable audio application when different sections require different treatment.
Normalization also amplifies background noise along with the wanted sound. A noisy recording does not become clean because its average level is closer to a target. Clipped input cannot be repaired by lowering it after the fact: the distortion is already part of the samples. Keep a good original take and use level adjustment as one preparation step rather than a promise of complete mastering.
Keep normalization separate from decisions about noise, tone and arrangement. If a microphone recording contains hiss, turning the whole file up also turns up the hiss. If a word is obscured by music, a single gain change applied to the combined file will not separate the voice from the backing. Work from the cleanest source available and make the level adjustment after the parts are balanced. Save a comparison copy until the normalized file has been checked in its actual sequence, particularly when it will sit between speech and music.
Podcast hosts, broadcasters and video platforms can specify loudness using LUFS or true-peak measurements. This tool reports RMS and sample peak, which are not interchangeable with those measurements. Do not label a processed file as meeting a delivery standard simply because the numbers look familiar. Use a compliant meter or mastering workflow when the destination requires one.
The browser writes a 16-bit PCM WAV from the adjusted audio. Download it before refreshing the page; no account project is created automatically. Retain the source if you may need a different target later. Repeatedly processing an already quantized output is less useful than starting each comparison from the original recording and keeping the versions clearly named.

Raise or lower a producer tag or station ID with a consistent overall level. Check the voice against its intended music bed afterward, because global normalization does not decide a creative mix balance.
Bring similarly dynamic clips toward a common RMS target before arranging them. Inspect the actual results: files with very different peaks may still require individual attention.
Use measured gain changes to reduce a level mismatch between clips. Audition the sequence after joining them, especially where a music cue meets spoken material.
This implementation measures RMS energy and sample peak. It does not calculate integrated LUFS, loudness range or inter-sample true peaks. The term normalization describes its gain adjustment, not a certification for a broadcaster or streaming platform. Use the destination’s required meter when those standards matter.
A high peak may prevent the recording from being amplified enough to reach the average target without clipping. The tool reduces the requested gain to respect a -1 dBFS sample-peak ceiling. The displayed actual RMS explains the result. Compression or limiting would be a different process.
No. A file containing only zero-valued samples has no recorded information to amplify. The processor rejects that case rather than inventing sound. If you expected speech in a silent file, inspect the recording and export settings in the application that created it.
No. One gain is applied to the whole signal, including noise and existing distortion. A quiet noisy file becomes a louder noisy file unless peak protection restricts the gain. Repair or re-record a damaged source when possible.
No. The measurements consider the recording’s channels together and apply one gain to both. This preserves the relative stereo balance. It does not correct a recording where one microphone channel was much quieter than the other.
The operation changes amplitude, not playback speed or the number of samples. The file keeps its decoded duration and sample rate, then exports as WAV. Listen to the beginning and end as well as the level before replacing a source in another project.
RMS describes average signal energy, while LUFS measurement uses a different loudness model and measurement rules. This tool adjusts toward an RMS target with peak protection. It should not be described as a LUFS meter, true-peak limiter or certified broadcast mastering service. If a podcast platform, station or distributor specifies LUFS, use a suitable loudness meter and verify the final file against that requirement in your delivery workflow. An RMS value cannot simply be relabeled as LUFS, even if two settings happen to look numerically similar.
A shared target can be a useful starting point for similar material, but it is not a guarantee that different recordings will sound equally loud. Speech, sustained music and short impacts have different energy patterns. Compare the actual sequence and use your destination’s requirements where applicable. The normalizer applies one overall gain rather than riding every word or compressing individual peaks. If one sentence remains much quieter than another inside the same recording, you may need a more detailed editing or dynamics workflow instead of repeatedly normalizing the entire file.
Repeating the operation does not recover lost detail or make a recording progressively cleaner. Once a file has been adjusted, another pass simply evaluates that result and applies another gain change within the available limits. Work from an original copy, choose a sensible target and compare before and after. Avoid exporting a long chain of revisions when you can return to the original recording instead. If the result still has an obvious problem, identify whether it is a level mismatch, distortion, background noise or uneven speech; only the first of those may be solved by a simple overall gain.
Download the processed WAV and keep the original recording until you have checked the result in context. Note the target you chose and the displayed before-and-after measurements if you need to explain the change to a collaborator. The browser edit is temporary and is not automatically added to My creations. A file must fit the input limits of 25 MB and 120 seconds and be decodable by your browser. When you pass the result on, describe it accurately as an RMS-adjusted file rather than claiming that it has passed a broadcast loudness standard.
Choose an existing recording, make the edit and download the result before leaving the page.